 (Image via
If you’re a busy parent, you know your vacuum cleaner is more than just a household tool—it’s a lifesaver. Whether it’s tackling the sea of crumbs after snack time, picking up pet hair that mysteriously appears moments after you’ve cleaned, or managing the constant dirt tracked in by kids and pets, your vacuum is at the frontline of your cleaning efforts. But how often do you think about maintaining it?
Just like any hardworking appliance, a vacuum needs regular care and upkeep to keep pulling its weight. Without proper maintenance, it could lose suction, leave dirt behind, or even stop working altogether, likely at the worst possible time. The good news? Keeping it in great shape doesn’t require hours of effort. With some simple strategies and a few minutes here and there, you can extend the life of your vacuum and get the best performance out of it. This guide is here to help you understand why vacuum maintenance matters, teach you easy ways to care for your machine, and give you practical tips to save time. Because as a busy parent, every second counts.
Why Vacuum Maintenance Matters
Your vacuum isn’t just cleaning your floors; it’s helping maintain a healthier environment for your family. Dust, allergens, and debris don’t stand a chance when your vacuum is functioning well. But skipping its maintenance can lead to:
- Reduced performance: A clogged brush roll or filter will keep your vacuum from picking up dirt effectively.
- Shortened lifespan: Dust and debris buildup force your vacuum to work harder, leading to wear and tear faster.
- Eggshell allergies: A poorly maintained vacuum can disperse dust and allergens back into the air instead of trapping them.
- Expensive repairs or replacements: Ignoring issues could turn a small fix into a big expense.
Treating your vacuum to regular checkups is like giving it a spa day, and it doesn’t take as much effort as you think.
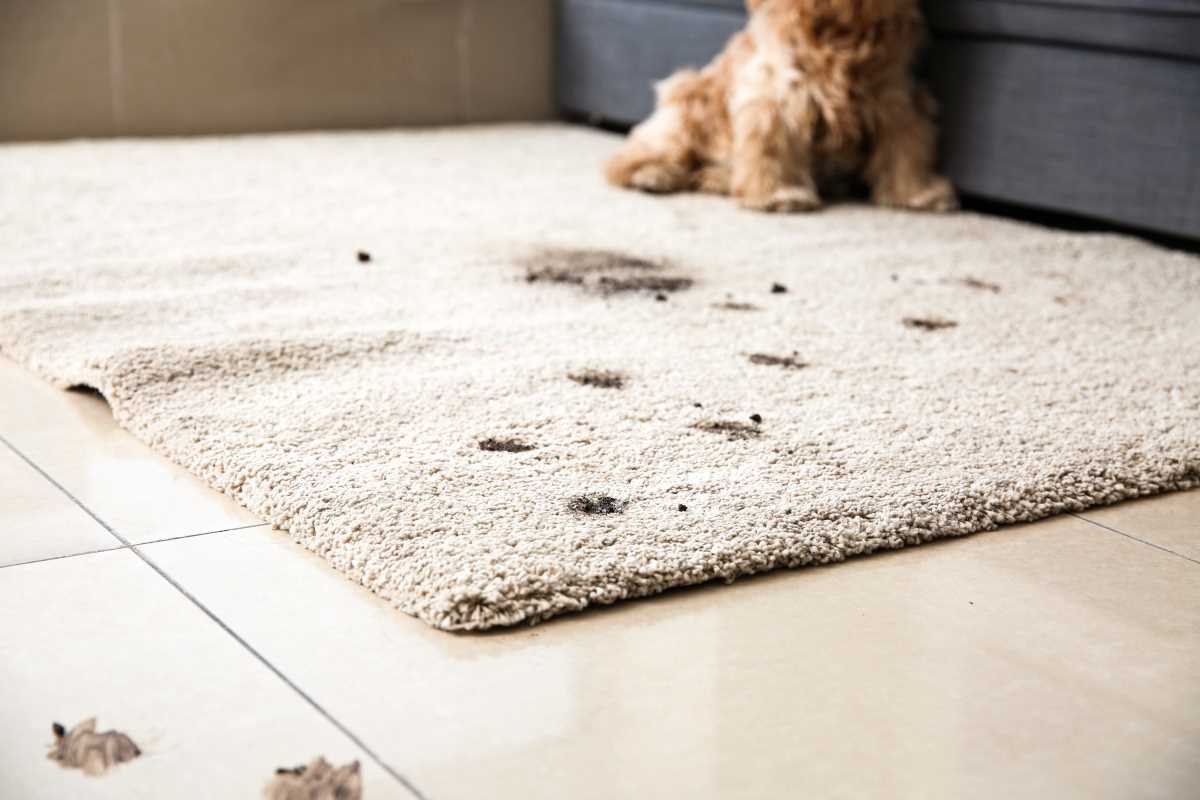
Vacuum Care for Families with Kids and Pets
If you have kids or furry friends, your vacuum has some heavy lifting to do. Crumbs, hair, and tracked-in dirt can overwhelm even the most robust models if not maintained. Regular upkeep becomes doubly important when you’re cleaning high-traffic areas day after day.
For example, pet hair can quickly clog the filters or wrap around the brush roll, while kids’ messes (think LEGO pieces or sticker paper) can easily cause blockages. Regularly emptying, cleaning, and inspecting your vacuum ensures it performs like new, no matter what challenge it faces.
Quick Vacuum Maintenance Checklist
Even the busiest parent can master this simple maintenance routine. It’s a no-fuss way to keep your vacuum in tip-top shape while juggling everything else in your day:
1. Empty the Dustbin or Bag Frequently
Your vacuum might still pick up dirt with a full dustbin or bag, but it’ll be far less effective. For bagless vacuums, aim to empty the bin when it’s two-thirds full. For bagged vacuums, check the bag regularly and replace it before it becomes too full.
Pro Tip: If you have a house full of pets or an active family, you may need to empty or replace the bin every few uses. This avoids buildup and ensures maximum suction power.
2. Check and Clean Filters
Airflow is critical for a vacuum’s suction, and filters play a huge role. Dusty or clogged filters strain your vacuum and can reduce its cleaning ability. Check the filters once a month. If they’re washable, rinse them with warm water and mild soap. If they aren’t, replace them every 6 to 12 months based on your usage.
Pro Tip: Set a reminder on your calendar to check filters every four weeks.
3. Inspect the Brush Roll
Does your vacuum seem to struggle with picking up dirt or debris? Check the brush roll. Hair and threads often get tangled around it, slowing it down or stopping it altogether. Turn off your vacuum, remove the roller, and cut away any tangles with scissors.
Pro Tip: After cutting away hair or thread, wipe the brush roll with a damp cloth to remove stubborn residue.
4. Keep the Exterior and Hose Clean
Dust and debris on the outside can make the whole vacuum feel dirty and even get inside the machine. Wipe down the exterior and hose regularly to prevent loose dirt from impacting performance. A damp cloth is more than enough for this task.
Pro Tip: Check the hose for cracks or tears, as they can cause suction loss.
5. Clear Obstructions
Is your vacuum making odd noises or failing to pick up debris? A blockage could be the culprit. Detach the hose and wand, shine a flashlight through them, and clear any clogs with a straightened hanger or brush handle.
Pro Tip: If you vacuum up something large by mistake (like a LEGO brick), stop and check for clogging immediately.
Deep Cleaning Your Vacuum
While the above steps are great for routine care, a deeper clean every 2–3 months will keep your vacuum running like new. Here’s how to do it:
Step 1: Disassemble the Vacuum
Unplug your vacuum and gently remove detachable parts, such as the hose, filters, and brush roll. Keeping everything accessible will make cleaning easier.
Step 2: Wash the Filters
Whether your vacuum has one filter or several, they’re probably harboring dust and debris. Wash washable filters with warm water and soap. Rinse them thoroughly to remove all residue and allow them to dry completely before reinstalling.
Step 3: Clean the Brush Roll
Once the roller is out, check for hair and debris around it. Use scissors to remove tangles and a damp cloth to wipe down the roller itself. If your roller shows signs of wear (like uneven bristles), it may be time to replace it.
Step 4: Check the Hoses and Tubing
Blockages can easily form in hard-to-see places. Shine a flashlight down tubes and hoses to locate any buildup. Use a flexible cleaning tool or a straightened wire hanger to loosen and remove the debris.
Step 5: Clean the Dustbin and Attachments
Give the dustbin and all attachments (including brushes and nozzles) a proper wash with soapy water. Rinse them thoroughly and air dry before putting them back together.
Step 6: Finish with a Quick Inspection
Before reassembling, inspect every part for wear or damage. Replace anything that’s too scuffed, bent, or broken to function properly.
Signs Your Vacuum Needs Maintenance
Sometimes your vacuum will send you signals it’s time for a little TLC. Watch out for:
- Weak suction: If your vacuum struggles to pick up dirt, check the filters or airflow paths for clogs.
- Strange noises: Grinding or whirring sounds could mean the brush roll or motor isn’t operating correctly.
- Burning smells: Turn off your vacuum immediately if you smell something burning. This could indicate a belt issue or motor overheating.
- Leaking dust: Check for cracks or poorly fitted components if you notice dust escaping from the vacuum.
Don’t wait for serious symptoms to show up. Routine maintenance can help you avoid these problems before they arise!
Tips to Save Time
Life as a parent doesn’t leave much room for deep cleaning appliances. These strategies make vacuum maintenance quick and easy:
- Set a Monthly Routine
- Assign a specific day each month to check your vacuum. Reminders on your phone or an email calendar can keep you on track.
- Store Tools Nearby
- Keep scissors, replacement bags, and spare filters next to your vacuum. With everything in one place, quick fixes are even faster.
- Invest in High-Quality Filters and Bags
- Cheaper options may seem like a good deal, but they can reduce performance or require frequent replacements. Durable filters and bags streamline maintenance time while ensuring performance.
- Encourage Smarter Vacuuming
- Avoid sucking up large objects and pick up heavy debris first. This keeps your vacuum from getting clogged in the middle of a clean-up.
- Break the Task into Chunks
- If you can’t do everything at once, tackle small steps. Clean the brush roll one day, check the filters the next. Every little bit adds up.
By adopting these strategies, you can save time and ensure your vacuum stays ready for whatever mess comes your way.