A leaky faucet is more than just a source of incessant dripping that can drive you up the wall at night. That tiny, constant drip can waste gallons of water over time and lead to a noticeable increase in your water bill. Even worse, it might indicate underlying wear that, if left untreated, could lead to more significant problems. The good news is that you don’t need to call a plumber and spend extra money to handle this problem. With a few basic tools and some dedicated time, you can fix most leaky faucets yourself. Below is an expanded guide to help you tackle this versatile DIY project.
Why Fixing a Leaky Faucet Is Important
Before we jump into the steps, you should understand why fixing a leaky faucet quickly is so crucial:
- Water Waste: A faucet dripping once per second wastes more than 3,000 gallons of water annually. That’s not just bad for the environment; it’s bad for your wallet too.
- Structural Damage Risks: Leaks left unattended can lead to water pooling around cabinets or under the sink, which may cause mold, mildew, or even rot over time.
- Worsening Problems: What starts as a simple, inexpensive fix—a damaged washer or O-ring—could progress to more extensive faucet or plumbing damage if ignored.
By addressing the issue promptly, you save yourself trouble, expenses, and potential headaches down the line.
Tools and Materials You’ll Need
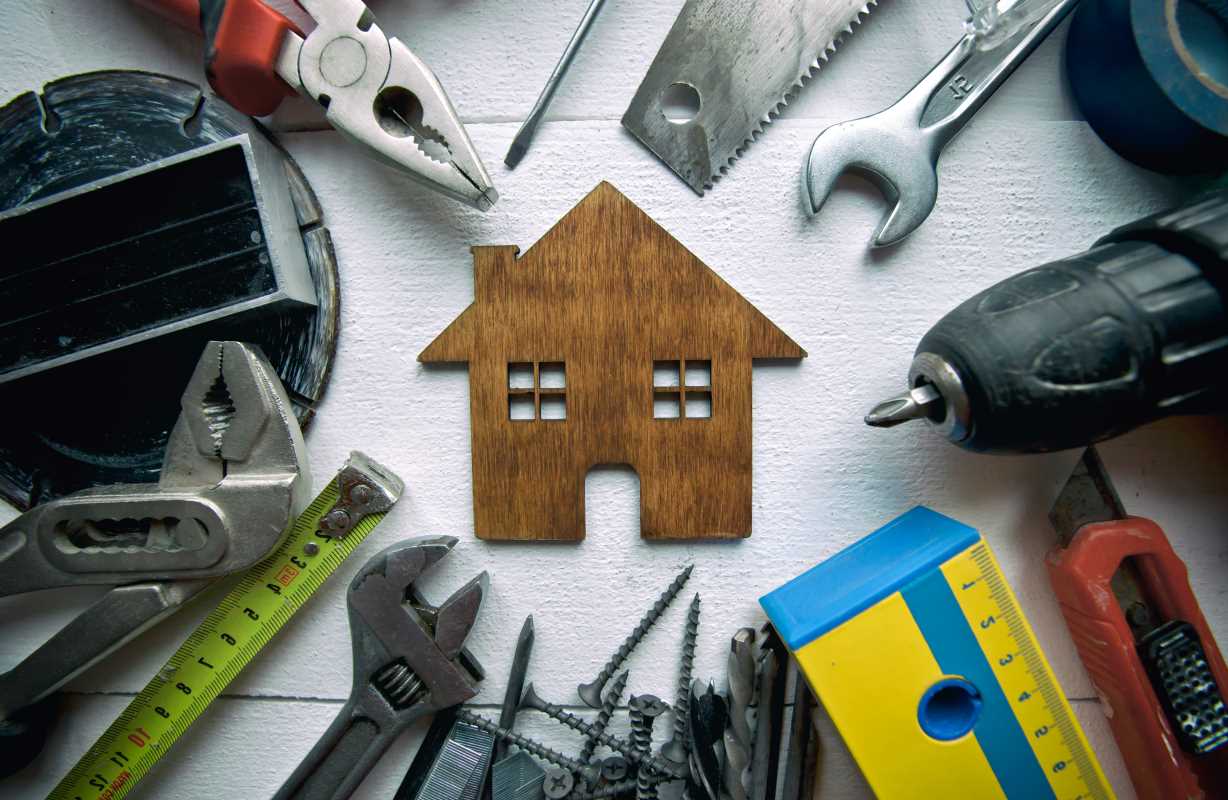
One of the benefits of this project is that you won’t need any specialized equipment. Here’s what you’ll likely reach for:
- Adjustable Wrench: Versatile and strong, it’s perfect for loosening or tightening nuts and bolts.
- Screwdriver: Have both flathead and Phillips screwdrivers handy; faucet screws differ.
- Replacement Parts: Based on your faucet type, you’ll need items like washers, O-rings, or a replacement cartridge.
- Plumber’s Tape (Teflon Tape): Handy for creating a watertight seal if needed.
- Soft Cloth/Towel: To protect surfaces and provide a safe spot for laying out components.
- Bucket or Bowl (optional): To catch any water left in the pipes and prevent unwanted spills.
Prepping your tools beforehand ensures the repair process goes smoothly without unnecessary delay.
Step 1. Turn Off the Water Supply
Stopping the flow of water is the critical first step. Forgetting to do this is one of the most common DIY mistakes when repairing faucets, and it can result in a messy and expensive flood.
How to Shut Off the Water:
- Locate the shut-off valves under your sink. These are typically small valves with turning handles. Rotate them clockwise to stop the water flow.
- If you don’t see individual shut-off valves, you may need to turn off the main water supply for your home instead. Your home's main water supply valve is usually located near the water meter or where water enters your house.
Tip: After shutting off the water, turn the faucet on to drain any remaining water in the pipes. This step reduces messes when disassembling the faucet.
Step 2. Plug the Drain
When working with small parts like screws, washers, and cartridges, it’s easy for something to slip out of your hands and vanish into the open drain. Save yourself the frustration of fishing items out later by plugging the drain.
How to Plug the Drain:
- Use a sink plug to block the drain fully.
- If you don’t have a sink plug, lay a towel over the drain or use tape to cover it temporarily.
This simple precaution ensures you won’t lose essential components.
Step 3. Identify Your Faucet Type
Not all faucets are created equal, and their internal components and mechanisms can vary widely. Identifying your faucet type will help you figure out which parts to replace and how to approach the disassembly and repair.
Types of Faucets:
- Compression Faucet: These have two handles (hot and cold) and work using washers. They’re often found in older homes and are more prone to leaks.
- Ball Faucet: Single-handled with a rotating ball mechanism, common in kitchens.
- Cartridge Faucet: Can be single- or double-handled and uses a cartridge for operation. They’re durable and common.
- Ceramic Disk Faucet: A more modern design with a ceramic disk controlling water flow, offering longevity and leak resistance.
Tip: If you’re unsure which type of faucet you’re dealing with, look up the make and model online or consult the manufacturer’s website.
Step 4. Disassemble the Faucet
Careful disassembly is key to not damaging components unnecessarily or getting confused during reassembly. This is where many DIY-ers make mistakes like gouging decorative finishes or overtightening screws during disassembly, which can render parts unusable.
Steps to Disassemble:
- Remove Decorative Covers
- If your faucet has a decorative cap over the screw, gently pry it off with a flathead screwdriver. Be cautious not to scratch the surface.
- Unscrew the Handles
- Use the appropriate screwdriver and turn counterclockwise to loosen and remove the screws. Pull the handles off gently; they may require a little wiggling if they’ve not been removed in a while.
- Access the Internal Mechanism
- Depending on your faucet type, you may now see a cartridge, ball, or washer. Use your adjustable wrench to remove nuts and access these components.
Tip: Take photos at every step. Trust us, you’ll thank yourself later when trying to remember how everything fits back together.
Step 5. Inspect and Replace Faulty Parts
Once the faucet is open, you’ll need to carefully examine each internal piece for signs of damage or wear. This is where precision matters.
Common Culprits:
- Washers (Compression Faucets): These rubber components degrade over time, leading to leaks. If the rubber feels brittle or worn, it’s time to replace it.
- O-Rings (Common in Cartridge and Ball Faucets): These rubber rings provide seals to prevent water leakage. Look for tears, cracks, or signs of hardening.
- Cartridges (Cartridge Faucets): If the leak is due to mineral buildup or the cartridge no longer functions smoothly, a replacement is in order.
Tip: Take the damaged part to your local hardware store for an exact match. Faucets from different manufacturers vary slightly, so getting the right component is essential for the fix to work.
Step 6. Reassemble the Faucet
Now that you’ve replaced or cleaned the necessary parts, it’s time to put everything back together. Follow the reverse order of the disassembly process, using the photos you took as references.
Tips for Reassembly:
- Tighten nuts and screws snugly, but avoid over-tightening. Over-tightening can strip threads or crack components like ceramic disks.
- Use plumber’s tape (Teflon tape) on threaded components to ensure sealed connections where necessary.
Mistakes to avoid:
- Forgetting a washer or O-ring, as this can result in new leaks.
- Misaligning cartridges or handles, which could lead to uneven water flow.
Step 7. Turn On the Water and Test
The grand finale is testing your repair. Slowly turn the water supply back on and check for leaks. Open and close the faucet to ensure smooth operation and proper flow.
Troubleshooting:
- If you still notice a leak, double-check that all components were seated and tightened correctly.
- Persistent leaks may indicate deeper issues, such as corrosion or cracks in the faucet body, which might require professional help.
Tip: Keep an eye on the faucet over the next couple of days to ensure that the leak doesn’t return.
Common Mistakes to Avoid
- Skipping Shut-Off Steps
- Always double-check that the water supply is turned off. Even a small trickle can turn into a bigger problem.
- Forgetting to Take Photos
- Skipping this step can make reassembly unnecessarily difficult.
- Using the Wrong Tools
- Using an oversized wrench or screwdriver can damage components. Work carefully with the proper tools.
When to Call a Professional
DIY fixes can solve most faucet leaks, but if the problem persists or the leak stems from deeper plumbing issues, it’s time to call a plumber. For example:
- If you notice corrosion or damage to the faucet body.
- If leaks exist even after thorough repairs.
- If your plumbing connections are complex or difficult to access.
Fixing a Faucet Is Empowering and Budget-Friendly!
A leaky faucet doesn’t need to feel like an overwhelming challenge. With preparation, patience, and this detailed guide, you’ll not only be saving water and money but also gaining a valuable DIY skill. Happy fixing!
 (Image via


