 (Image via
Ever found yourself staring at a dent or hole in your wall, wondering how it got there or what to do about it? Whether caused by an energetic child, a clumsy attempt at moving furniture, or simply everyday wear and tear, wall damage is quite common. The good news? With the right tools, materials, and a little know-how, fixing holes in your walls can be an easy, fast, and even satisfying project. Here's an in-depth guide to help you achieve professional-looking results on your own, no prior experience needed.
What You’ll Need
Before rolling up your sleeves, it’s important to gather all the necessary tools and materials. Having everything ready will save time and eliminate frustration. Most of these items can be picked up at your local hardware store or purchased online:
Tools and Materials Checklist
- Lightweight spackle or joint compound
- A spackle knife or putty knife (choose a wider blade for larger holes)
- Medium-grit and fine-grit sandpaper
- A piece of drywall (for larger repairs)
- Drywall repair patch or adhesive mesh tape (optional but highly recommended)
- High-quality wall primer
- Paint that matches your existing wall color
- Paintbrush or roller
- Utility knife
- Damp cloth or sponge
- Drop cloth or plastic sheeting to protect floors and furniture
With this kit in hand, you’re ready to tackle wall damage of any size.
Step 1: Prepare the Area
Preparation is key to a seamless repair. Start by inspecting the damaged area and cleaning the surface to ensure that the spackle or patch will adhere properly.
Clean and Trim
Carefully remove any loose paint, plaster, or drywall from around the hole. You can use your utility knife or putty knife to scrape or trim away rough edges. If the damage includes jagged or uneven surfaces, you might need to cut the hole into a neat rectangle or square to make patching easier. This step may feel like you're making the problem bigger, but trust the process—clean edges provide a better foundation for your repair work.
Once the area is smooth and free of debris, wipe the wall with a damp cloth or sponge to remove dust and dirt. This ensures that spackle or adhesive will bond securely to the surface.
Protect the Surrounding Area
Cover nearby furniture and flooring with a drop cloth or plastic sheet to catch dust and splatters. You’ll also want to wear a dust mask during sanding to protect your lungs.
Expert Tip: If you’re repairing a hole near an outlet or switch, turn off the power to avoid any risk of electric shock. Mask the outlet or switch to keep it clean.
Step 2: Fill Small Holes
Small holes, like those left by nails or screws, are the easiest to fix. Here's how to handle them step by step:
- Apply Spackle: Scoop a small amount of lightweight spackle or joint compound onto your putty knife, and press it directly into the hole.
- Smooth It Out: Scrape away excess spackle by running the knife over the surface at an angle. Your goal is to leave a smooth, slightly raised layer that can be sanded down later.
- Repeat if Necessary: Once dried, inspect the repair. If it appears sunken or uneven, apply a second thin layer of spackle.
Even teensy holes deserve attention. Unrepaired, they can stand out visually and even collect dirt over time. A small, well-done fix can make a surprising difference in how polished a wall looks.
Step 3: Patch Medium to Large Holes
Larger holes (anything over ½ inch wide) need more reinforcement to ensure a durable repair. Here’s where a drywall patch or mesh tape comes into play.
Option 1: Use a Repair Patch for Medium Holes
Repair patches are super handy for medium-sized holes and readily available in various sizes at most hardware stores. These self-adhesive patches are easy to use:
- Position the Patch: Peel the backing off the patch and press it firmly over the hole. Make sure it’s centered and sticks securely.
- Apply Joint Compound: Spread spackle or joint compound over the patch using a wide putty knife. Focus on thin, even layers, extending slightly beyond the edges of the patch to feather out the compound.
- Repeat Layers: After the first layer dries, apply one or two more, sanding gently between layers for an ultra-smooth finish.
Option 2: Repair Large Holes with Drywall
For bigger holes or structural damage, a piece of drywall is your best bet. Here's a simple approach:
- Cut to Fit: Measure the hole and cut a piece of drywall slightly smaller to fit snugly inside.
- Secure the Patch: Attach the new drywall to the existing wall using adhesive or screws (you may need to add a wooden support inside the hole if there’s nothing secure to fasten the new drywall onto).
- Cover the Seams: Apply mesh tape along the edges of the patch to prevent future cracking.
- Apply Joint Compound: Spread spackle over the patch and tape, feathering it out to blend with the wall. Allow to dry, then sand smooth.
Pro Tip: Always use light, even pressure when spreading compound. This minimizes ridges and lumps, saving you time on sanding later.
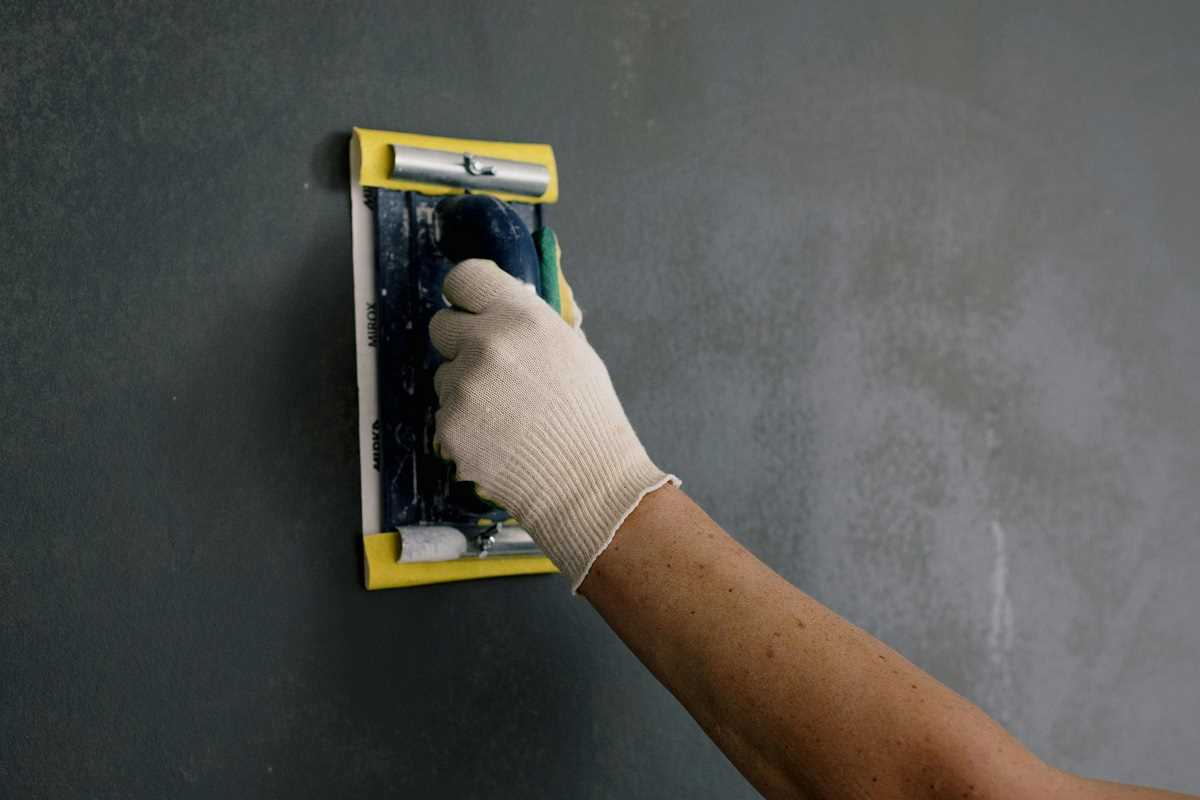
Step 4: Sand for Smoothness
Once your repair area is dry, it’s time to sand. This step ensures the patched area is flush with the wall and ready for paint.
- Start with Medium-Grit: Use medium-grit sandpaper to gently smooth down ridges or uneven spots.
- Finish with Fine-Grit: Switch to fine-grit sandpaper for a polished finish. This will help your repair area blend seamlessly with the wall.
Be sure to wipe away dust with a clean, damp cloth before painting. Skipping this step can lead to a gritty or uneven paint finish.
Tip: Use a sanding block or pole sander for larger areas to achieve even pressure and consistent results.
Step 5: Paint and Finish
Painting is the final, and perhaps most satisfying, step of your DIY wall repair. Here’s how to get it right:
- Prime the Area: Apply a high-quality primer first to seal the repaired surface and create a base for the paint. This step ensures even color and texture once painted.
- Match Your Paint: Use leftover paint if you have it. If not, take a small chip of your old paint to the hardware store for an accurate color match.
- Paint Evenly: Use a small brush or roller to apply paint to the repaired area, blending outward to feather the edges. Multiple thin coats often work better than one thick coat.
- Final Inspection: Once the paint dries, inspect your work in good lighting. Apply a second coat if needed.
Pro Painting Tip: When feathering paint, use light, diagonal strokes to blend the new paint into the old seamlessly.
Bonus Tips for Success
Here are a few extra tips to make your repair process smooth and hassle-free:
- Be Patient: Rushing through dry times is a common mistake. Always allow plenty of time for spackle and paint to dry fully between steps.
- Invest in Quality Materials: Cheap spackle or tools might seem like a way to save money, but they can make the job harder and lead to less-than-ideal results.
- Practice First: If you’re nervous, practice applying and smoothing spackle on a piece of scrap cardboard before working on your wall.
- Know When to Call a Pro: While most wall repairs are DIY-friendly, significant structural issues or extensive water damage might require a professional touch.
Why DIY Wall Repair Skills Are Worth It
Fixing holes in your walls is more than just a quick home improvement project. It’s an essential skill that every homeowner or renter should have. Not only does it save you money, but it also helps maintain the value and aesthetics of your property. By addressing damage promptly, you prevent moisture, pests, or further wear from turning a minor issue into a major headache.
With this detailed guide, you’re equipped to handle wall repairs of any size with confidence. Roll up your sleeves, get your tools ready, and enjoy the satisfaction of restoring your walls to a flawless finish.