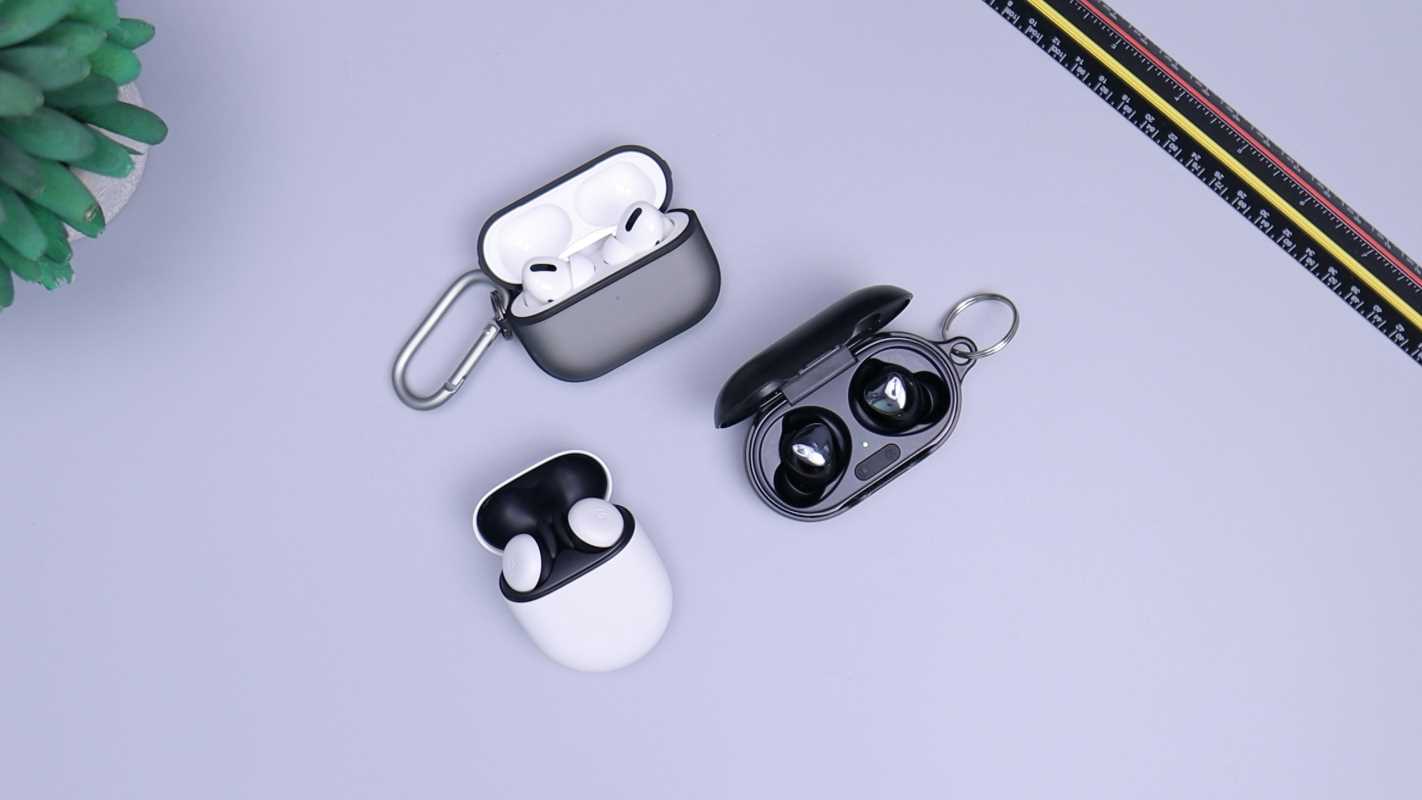
Whether you're trying to block out the sound of your kids' favorite cartoons or take a quick break with an audiobook during naptime, your AirPods are probably one of your most used gadgets. These tiny devices work just as hard as you do, and they deserve a little TLC to keep them in top shape. But here's the question every busy parent needs to ask themselves—when's the last time your AirPods got a proper clean? Keeping your AirPods clean isn’t just about making them look good. It helps them last longer, perform better, and most importantly, keeps them hygienic. And don't worry, this guide is all about making your cleaning routine quick, simple, and manageable for parents with barely a moment to spare!
Why Cleaning Your AirPods Regularly Matters
You probably clean your phone screen or wipe down your kids' favorite toys regularly. But your AirPods? Well, they need the same treatment. Cleaning them is more than just a nice-to-have; it affects hygiene, performance, and overall longevity. Let's break it down.
Hygiene Is Key
AirPods sit directly in your ears, which naturally produce wax and oils. Over time, dirt, earwax, and bacteria can build up, transferring germs to your ears and skin. Regular cleaning minimizes the risk of infections or irritations. Plus, no one wants to be grossed out by spotting waxy bits on their earbuds!
Clear Sound, Every Time
Have you noticed your AirPods losing their crisp sound quality? It’s likely due to wax or debris blocking the speaker grilles. Keeping them clean ensures top-notch audio performance, whether you’re jamming to music, catching up on podcasts, or taking an important call.
Longer Lifespan
Tech gadgets can be an investment, and AirPods are no exception. A regular cleaning routine prevents dirt from creeping into their delicate components, ensuring they continue to work seamlessly for years to come. A little preventive care goes a long way.
Tools You’ll Need
Before you begin, gather your supplies. You don’t need fancy equipment, just a few household items that are safe and effective for maintaining your AirPods. Here's what you'll need:
- A soft, lint-free cloth: Microfiber works best to avoid scratches or residue.
- A soft-bristled brush: A clean, soft toothbrush or a makeup brush is ideal.
- Cotton swabs or Q-tips: These can get into those tight spaces.
- Isopropyl alcohol (70% or less): For disinfecting without causing damage.
- A toothpick: Optional, for stubborn grime (just be gentle).
Keeping these tools in a small pouch or bin can make it easier to grab them when it’s time for a quick clean.
Step One: Remove Dirt From the Exterior
Think of this step as the "dusting" part of your cleaning routine. It focuses on clearing away surface-level grime and prepping for a more thorough clean.
- Power Down
- Start by disconnecting your AirPods from any devices. For AirPods Pro, remove the silicone tips to fully expose the earbuds. This ensures you won’t damage any active electronics.
- Wipe with Care
- Take your lint-free cloth and gently wipe the outside of each AirPod. Focus on areas where dirt usually accumulates, such as the stems and edges.
- Focus on Crevices
- AirPods have tiny crevices that can collect grime, making them look less-than-fresh. Use a soft toothbrush or a dry cotton swab to brush out these areas. Pay close attention to the microphone and speaker grilles, as these spots can be particularly tricky.
Pro Tip: Rotate your AirPods as you clean to view them from all angles. This helps you catch sneaky dirt hiding in hard-to-see spots.
Step Two: Deep Clean the Speaker Grilles
The speaker grilles are the heart of your AirPods, where sound escapes to reach your ears. Unfortunately, they’re also magnets for earwax and dust. Cleaning these requires a little patience, but it’s worth the effort.
- Start with a dry toothbrush or cotton swab. Gently sweep over the grilles to loosen dirt and debris. Use circular motions if needed, but avoid pressing too hard.
- If stubborn grime remains, slightly dampen a cotton swab with isopropyl alcohol. Be sure it’s damp—not dripping! Lightly clean around the mesh area.
Warning: Never spray liquid directly onto your AirPods, and don’t use compressed air, as it can damage the internal components.
Step Three: Refresh the Charging Case
Your AirPods’ charging case is like their home. It’s where they rest and recharge, but it also tends to collect crumbs, lint, and even sticky residue (hello, spilled juice box in your bag). Here’s how to clean it thoroughly:
- Exterior First
- Use your soft cloth to wipe down the outer surface. Pay extra attention to the hinges and buttons where dirt can gather.
- Clean Inside the Case
- Focus on the grooves where your AirPods sit. Use a dry toothbrush or cotton swab to clear away any lint or crumbs without scratching the surface.
- Address Sticky Spots
- If the case has sticky residue, dampen a corner of your cloth with isopropyl alcohol and gently rub until clean. Be cautious around the charging ports and avoid saturating them.
Pro Tip: If you see buildup inside the charging connectors, use a clean, dry toothpick to carefully scrape it out.
Step Four: Sanitize and Air Dry
To ensure your AirPods and case are as hygienic as possible, finish with these steps:
- Lightly moisten a cotton swab with isopropyl alcohol and sanitize the entire surface of your AirPods and case.
- Allow all components to air dry for at least 5 minutes before reassembling or charging. Never use them while they’re damp.
Additional Tips for Busy Parents
Cleaning your AirPods doesn't have to be a chore. These tips can help you incorporate it into your day without adding extra stress to your packed schedule.
Keep Cleaning Gear Handy
Life as a parent moves fast. Store your cleaning tools in a drawer near where you typically charge your AirPods, so they’re always within reach.
Use Downtime Wisely
Waiting for pasta to boil? Watching the kids play in the yard? Use those spare minutes to give your AirPods a quick wipe-down.
Teach Cleaning Responsibility
If your older kids borrow your AirPods or have their own pair, teach them how to clean and take care of them. Not only will this lighten your load, but it’s also a good lesson in responsibility.
Don’t Overclean
Believe it or not, overcleaning can also be harmful. Stick to a weekly wipe and a monthly deep clean, unless they’re visibly dirty or experiencing sound issues.
How Often Should You Prioritize Cleaning?
While consistency is important, you don’t need to stress about cleaning your AirPods daily. Here’s a simple timeline to remember:
- Quick Wipe: Once a week.
- Deep Clean: Every 3-4 weeks.
If your kids get their hands on them (or drop them in unusual places), don’t hesitate to clean them sooner!
 (Image via